iModeller 3D Professional Edition - General Information
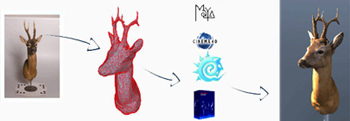
Modeller 3D Professional Edition creates a 3D model from a series of object images. A quick and easy way to overcome the tiresome and fiddly manual modelling process! iModeller 3D Professional Edition automatically creates a 3D geometry plus UVW texture atlas, and quite a few think it is the best organic modelling tool around.
Workflow
Here is a short list of steps describing the iModeller 3D workflow.
 Step 1: Print out the object pattern. The object pattern is a standard piece of paper printed with a special pattern. This is done from within iModeller 3D.
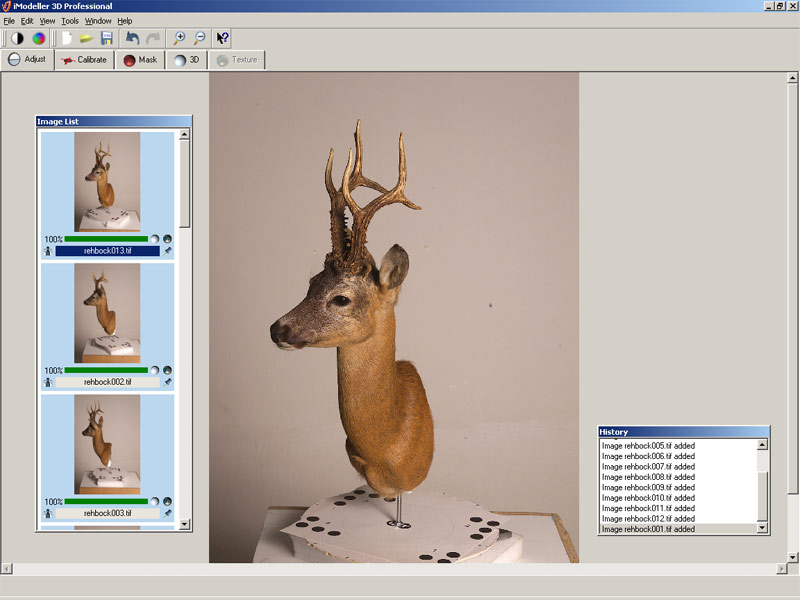
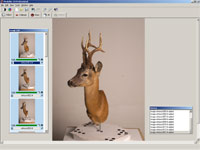 Step 2: Place the desired object on the object pattern. Take 10 to 20 free hand images from all sides. Load these object images into the iModeller 3D Professional interface. The object image selection can be edited with the software.
Once you capture the image from all sides, you save the images to disk and load them into iModeller 3D.
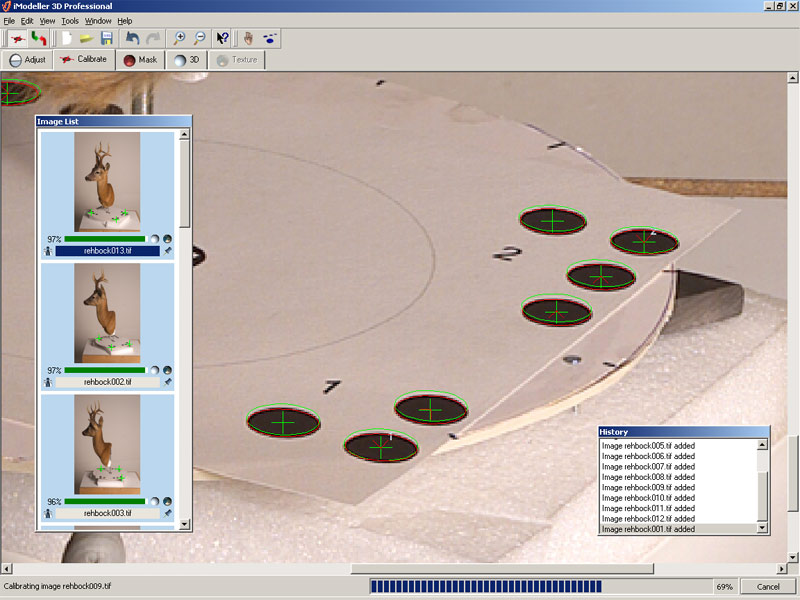
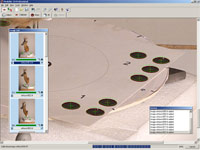 Step 3: iModeller 3D Professional automatically detects the calibration points on the calibration pattern. The corner points are marked with a red cross. With this information all relevant camera parameters are reconstructed automatically.
This automated calibration data can further be enhanced with manual interaction: define and identify manual marker points, making higher precision and merging of different views possible.
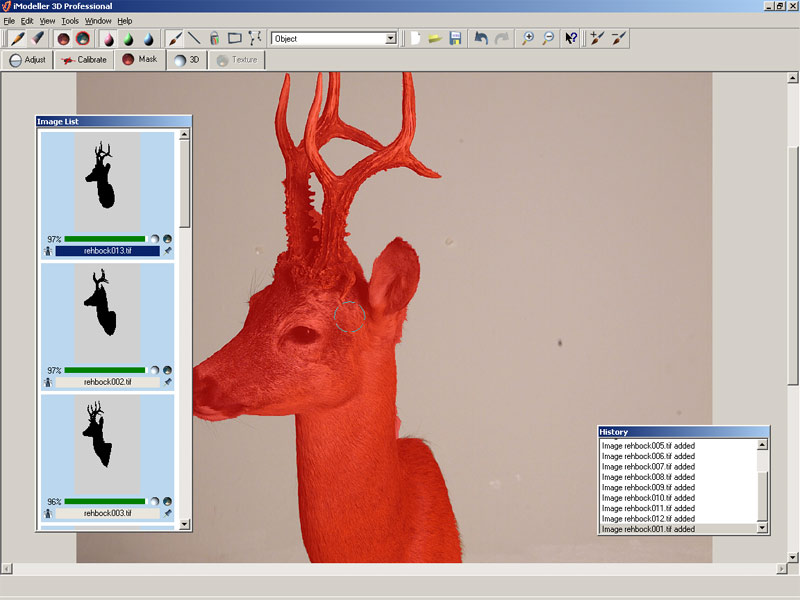
 Step 4: The object is separated from the image background with a so-called mask layer. This mask layer is painted automatically. It can be enhanced with a number of different tools. You may also add a mask layer to the images with an external image editing software (such as Adobe Photoshop).
Apart from this object mask, there are numerous other mask layers available: for example the innovative Details mask which controls the resolution of the 3D mesh, as well as Texture On and Texture Off masks which allow to in- and exclude certain texture parts.
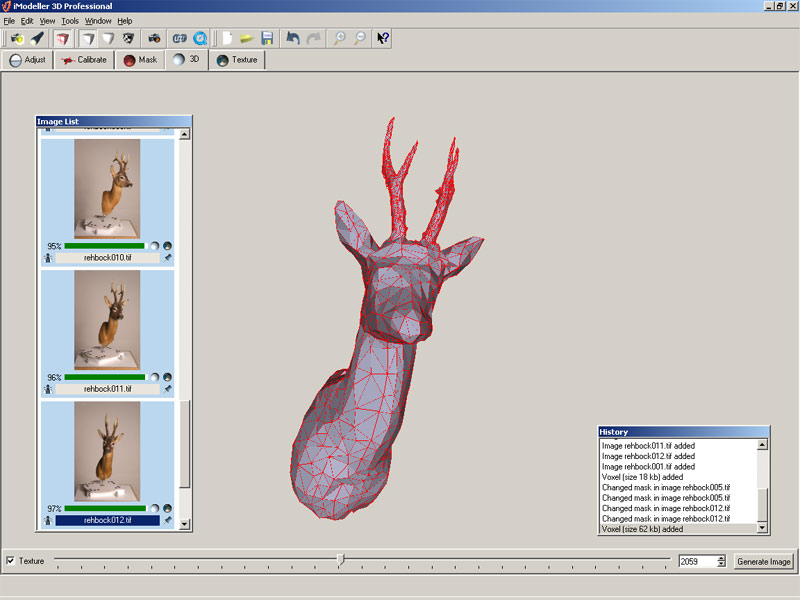
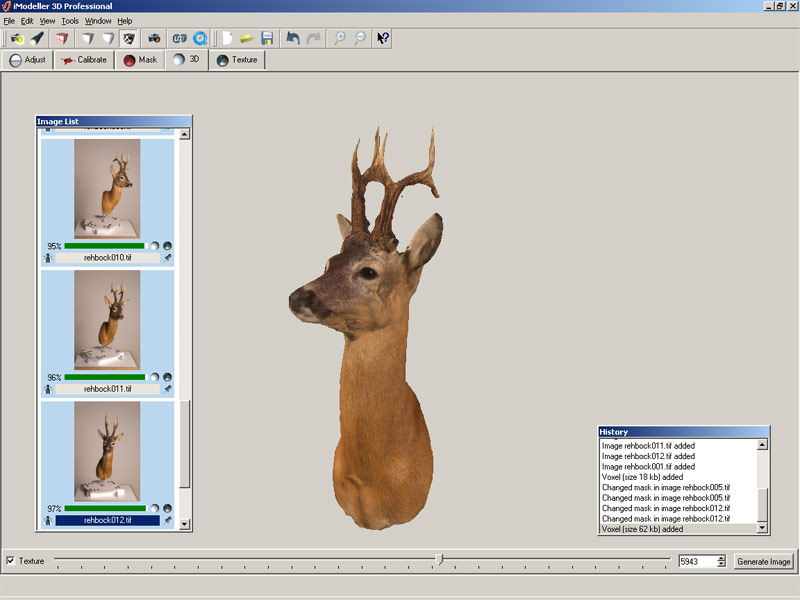
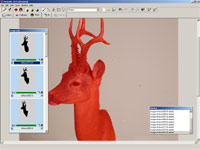
 Step 5: With information on camera positions and object size, the 3D model is generated. First, the object´s shape is reconstucted and displayed in iModeller 3D´s work view.
The 3D model´s resolution can interactively be adjusted in realtime using the provided slider tool. Also, basic functionalities are implemented which allow to work on the 3D geometry. The maximum number of vertices differ from object to object, but resolutions of 150.000 polygons and higher are easily accomplished.
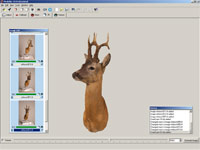 Step 6: This 3D geometry is then automatically textured. The texture information is directly extracted from the single object images. The finished 3D model can now be saved and exported to all prevalent 3D formats and the streamable UZR internet format as well as Macromedia Flash and QuickTime.
The 3D texture resolution can be set to any required value. The texture quality generated by iModeller 3D Professional Edition sure is breathtaking, enabling photorealistic renderings within a couple of minutes.
|