iModeller 3D Web Edition: Tutorial 1
Tutorial 1: The Pig. With iModeller 3D Web Edition you will scan this object and publish it on the web - fast and easily!
Step 2: Working with iModeller 3D Web Edition
Now you are done taking the images, you may start working with iModeller 3D Web Edition.
| back |
|
 |
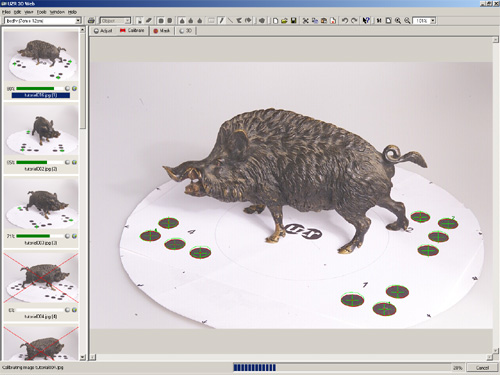
First, load the images with the "Load images..." command from the "Edit" menu. The images appear in the image list on the left side of
work view. |
 |
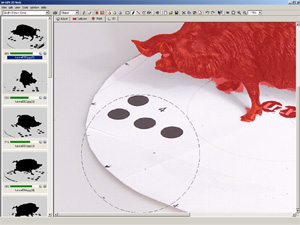
Then, activate the "Calibrate" mode ("calibrate index in the work view). iModeller 3D Web Edition automatically detects the ellipses of the object
pattern in every image. If a sufficient number of ellipses is found, this information then is used to reconstruct the required
camera values (position, focal length etc). The detected images are marked with a green ellipse. The calibration accuracy is
indicated by a value under each image in the image list. If an image is not calibrated automatically, you may set the ellipses´ positions manually. |
 |
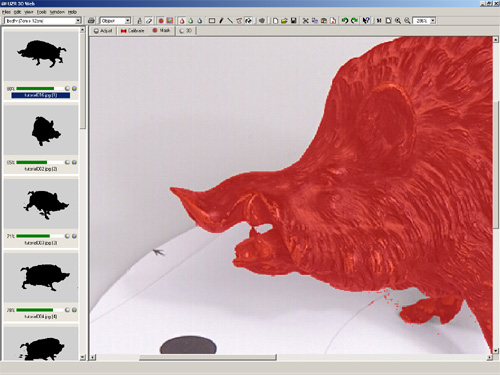
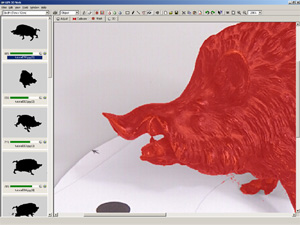
As soon as all images are calibrated, activate the "Mask" view ("Mask" index in the work view). The object is masked in every image to separate it
from the image background. This is done with a colored mask layer. It is painted automatically in every image as soon as the "Mask" view is activated. First, improve the
automatically painted masks with the Pen Tool in the Erase Mode. |
 |
Increase the pen size with the "Ctrl" key and the left mouse button. Now, erase the mask over the pattern. We recommend to work image
after image - this way you will save a lot of time. Use the PgUp/PgDn command to jump to the previous/next image in the image list. |
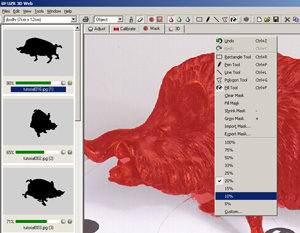 |
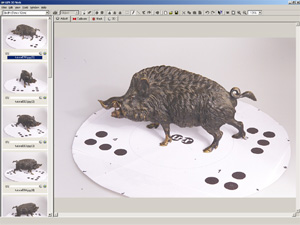
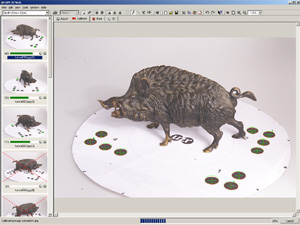
Now, activate the fill tool. Set the Fill Tool´s tolerance to "10%". |
 |
Use the Fill Tool to delete the small parts of the mask on the edges of the statue. Again, work image after image.
You can also use an external image editing software (e.g. Photoshop) to mask the images by including the mask as an alpha channel in the object images.
|
| back |
|
|