contact us
iModeller.com > Tutorials
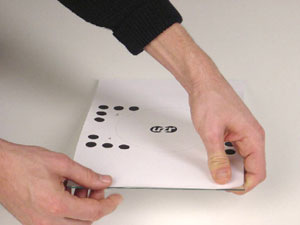
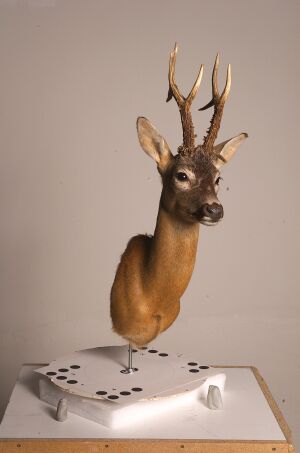
iModeller 3D Professional Edition: Tutorial 1

This tutorial shows how a deer´s head is scanned with iModeller 3D Professional Edition and rendered with Cinema 4D R8.

Download the required images here (1,25 MB).

Step 1: Taking the Images

Nice images are the main source for great results with iModeller 3D Professional Edition. It´s worth investing some effort into taking the images - this way you will improve your results and save a lot of time.

back
Provide a white, uniform background. Use a white table or a large white paper sheet, for the backgound we recommend a white piece of cloth or white paper cardboard. Also, illuminate the object as uniformly as possible: this will improve the texture quality.

A flat object pattern is very important. We recommend that you tape the pattern to a flat durface - like this piece of glass. Even the slightest wave will worsen your 3D result.

Now you may take images of the object. Place the object in the center of the pattern. Three of the four corner points of the object pattern have to be visible in every of the images. Also, the full object has to be visible in every object - no parts cut off. All together, we recommend 10 to 20 images (13 in this case) - the more, the better.

back